Notice: Function _load_textdomain_just_in_time was called incorrectly. Translation loading for the redux-framework domain was triggered too early. This is usually an indicator for some code in the plugin or theme running too early. Translations should be loaded at the init action or later. Please see Debugging in WordPress for more information. (This message was added in version 6.7.0.) in /var/www/wp-includes/functions.php on line 6114

Notice: Function _load_textdomain_just_in_time was called incorrectly. Translation loading for the wordpress-store-locator domain was triggered too early. This is usually an indicator for some code in the plugin or theme running too early. Translations should be loaded at the init action or later. Please see Debugging in WordPress for more information. (This message was added in version 6.7.0.) in /var/www/wp-includes/functions.php on line 6114

Notice: Function _load_textdomain_just_in_time was called incorrectly. Translation loading for the wordpress-seo domain was triggered too early. This is usually an indicator for some code in the plugin or theme running too early. Translations should be loaded at the init action or later. Please see Debugging in WordPress for more information. (This message was added in version 6.7.0.) in /var/www/wp-includes/functions.php on line 6114
2002 Chevy Tahoe DIY Part Replacement Part 1 - Bridgestone Tires PH

Regional Site | Philippines

In March 2017, we acquired a used 2002 Chevrolet Tahoe LS with a 4.8-liter Vortec V8 engine, 4-speed automatic transmission, and 116,413 kilometers on the odometer. This rear-wheel-drive American SUV was in good condition and was priced below the current market value because the seller had a family emergency. Since it was a 15-year-old vehicle, we expected problems to come up soon. And true enough, the left front wheel started to make squealing noises just a couple of months after we purchased the vehicle. We found that the left front hub wheel bearing was perished. We also realized that the whole hub assembly needs to be replaced because the anti-lock brake system (ABS) sensor is built into the hub and the bearing cannot be pressed out and replaced.
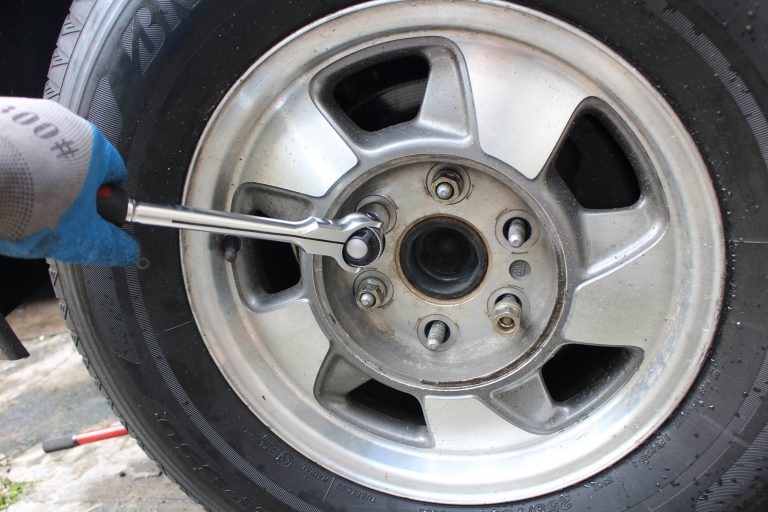
Remove the center cap of the wheel and loosen the six (6) 22mm wheel nuts.
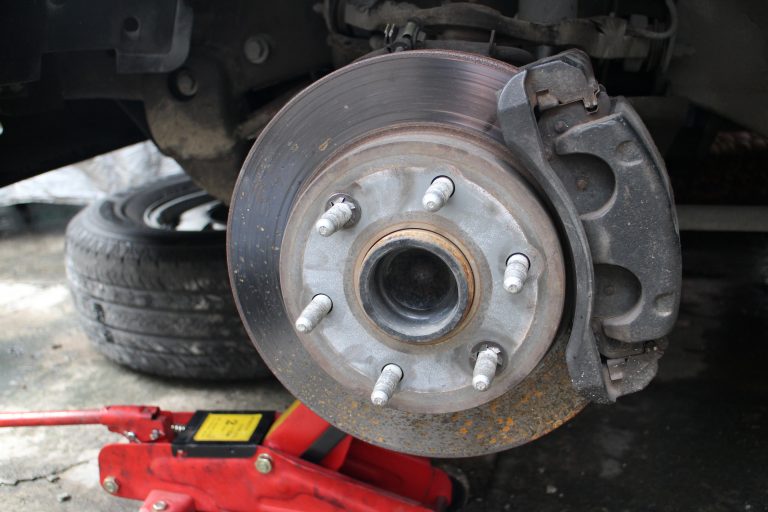
Remove the center cap of the wheel and loosen the six (6) 22mm wheel nuts.

Lift the front of the SUV with a jack and place a jack stand underneath before removing the wheel.
Lift the front of the SUV with a jack and place a jack stand underneath before removing the wheel.

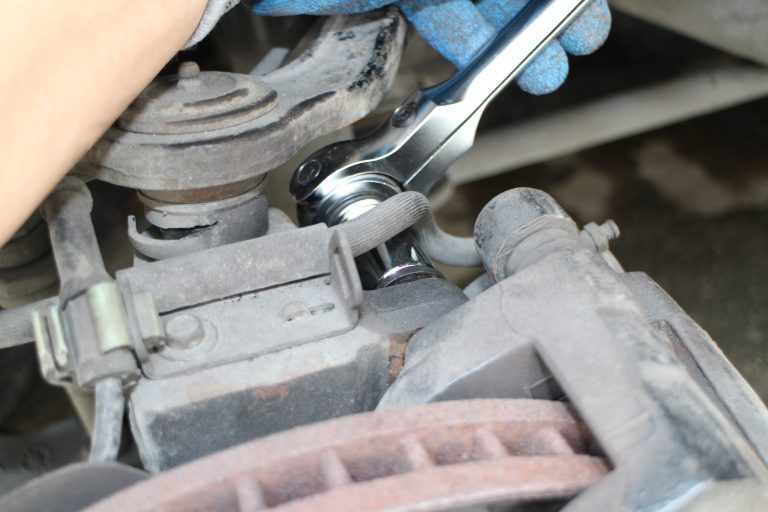
Remove the disc brake caliper assembly by removing two (2) 18mm bolts taking extra care not to damage the hydraulic brake hose.
Remove the disc brake caliper assembly by removing two (2) 18mm bolts taking extra care not to damage the hydraulic brake hose.

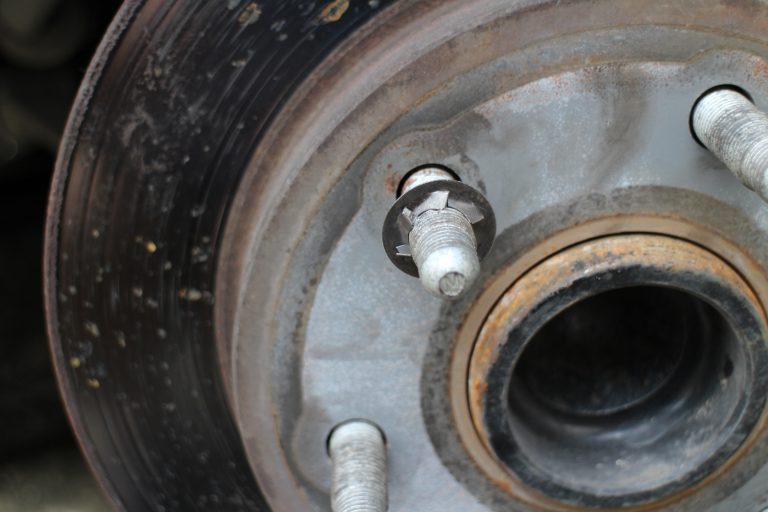
Remove two locking washers to pull the disc brake rotor from the hub assembly.
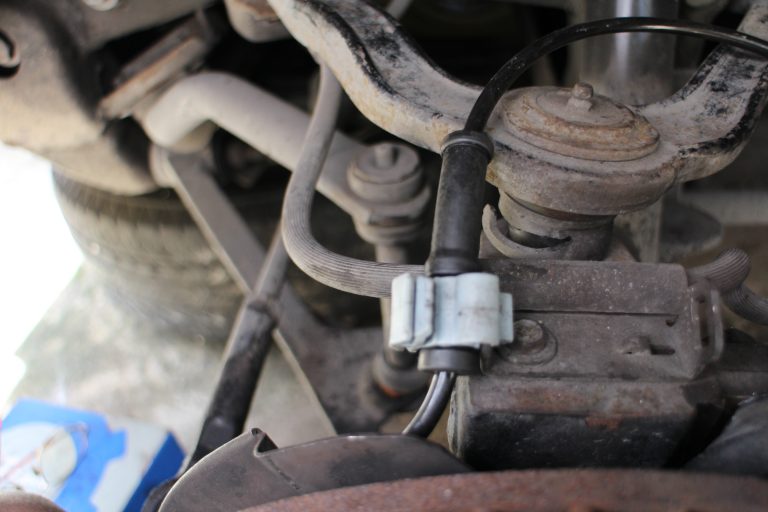
Remove two locking washers to pull the disc brake rotor from the hub assembly.

Disconnect the ABS sensor wire from the harness and remove the plastic retainers.
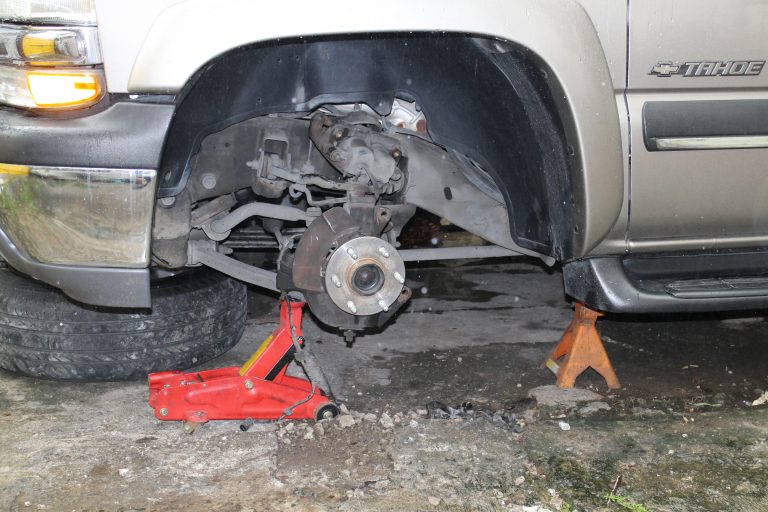
Disconnect the ABS sensor wire from the harness and remove the plastic retainers.

With the rotor removed and the ABS sensor wire detached, loosen the three (3) 15mm bolts behind the hub assembly.
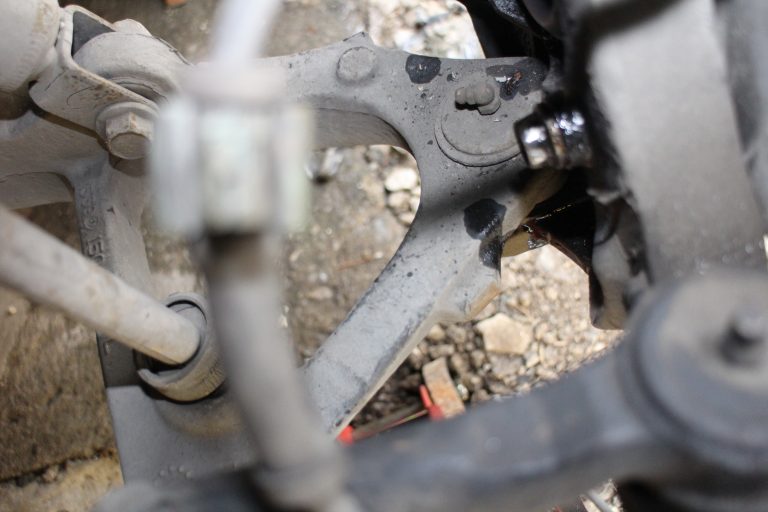
With the rotor removed and the ABS sensor wire detached, loosen the three (3) 15mm bolts behind the hub assembly.

One of the bolt heads became rounded, so some additional effort and time was needed to remove it.
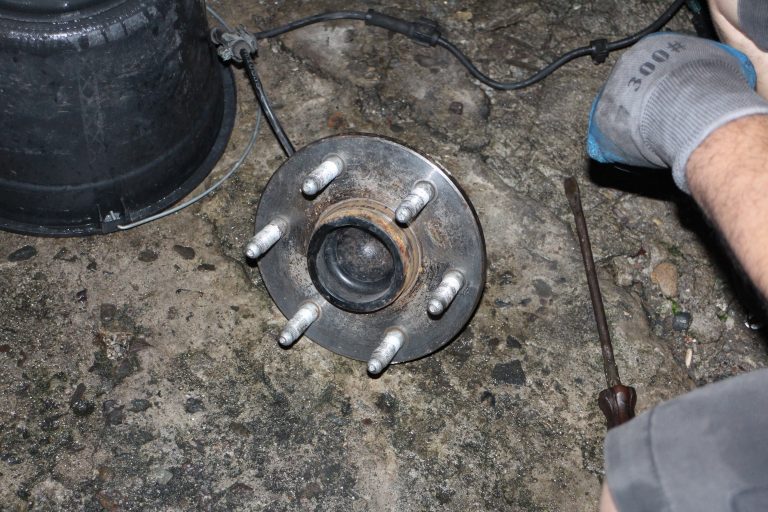
One of the bolt heads became rounded, so some additional effort and time was needed to remove it.

Once the bolts are removed, the hub assembly should slide out easily, along with the disc brake dust shield. If not, a light tap from a hammer might help.
Once the bolts are removed, the hub assembly should slide out easily, along with the disc brake dust shield. If not, a light tap from a hammer might help.

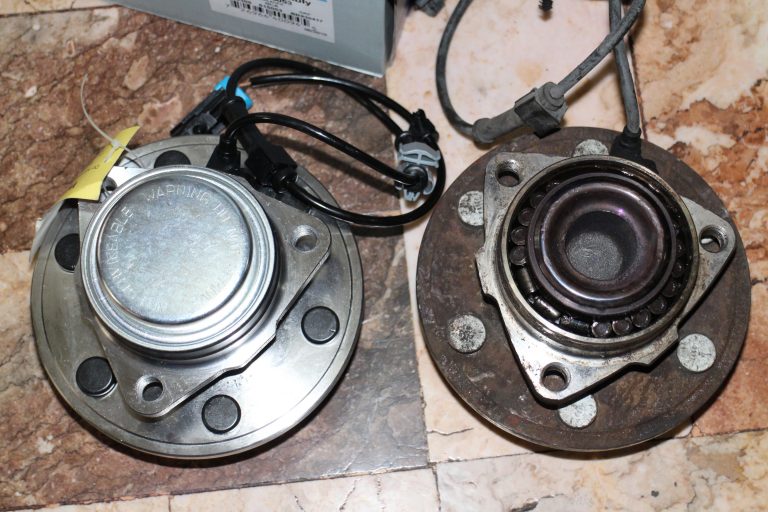
Compared to the brand new wheel hub (left), the bearing of the old one was broken and missing its dust cover.
Compared to the brand new wheel hub (left), the bearing of the old one was broken and missing its dust cover.

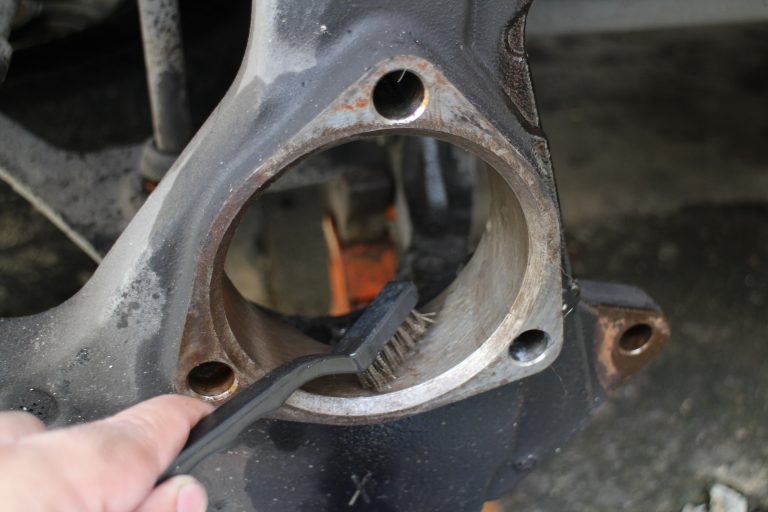
Clean the mounting hole before installing the new front hub assembly.
Clean the mounting hole before installing the new front hub assembly.

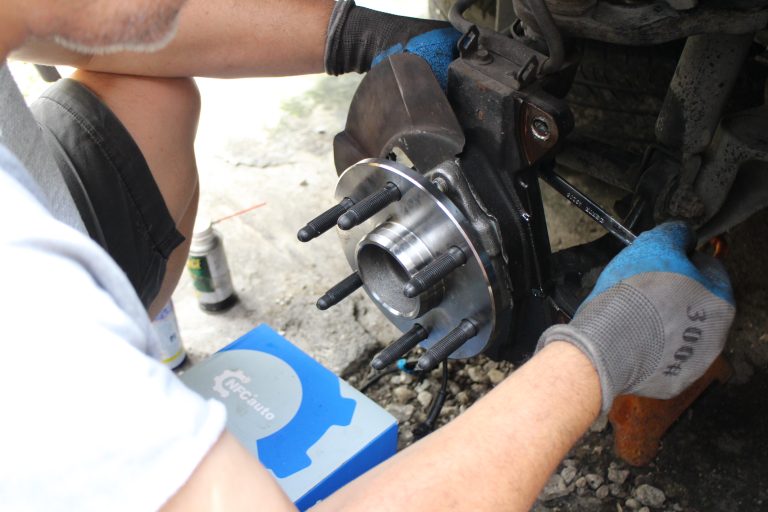
Carefully thread the three (3) 15mm bolts to align the hub assembly and the disc brake dust shield to the mounting bracket before tightening the bolts.
Carefully thread the three (3) 15mm bolts to align the hub assembly and the disc brake dust shield to the mounting bracket before tightening the bolts.

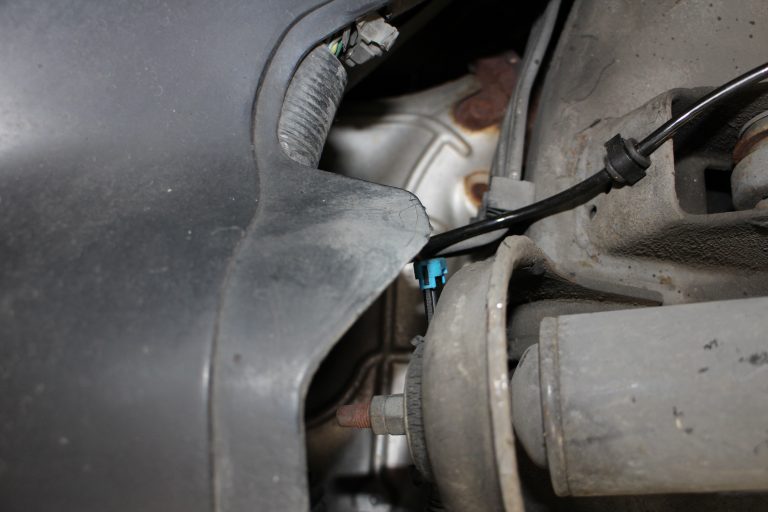
After ensuring that the hub assembly bolts are torqued tightly, reroute the ABS sensor wire of the new hub assembly, plug it into harness, and reattach all the plastic retainers.
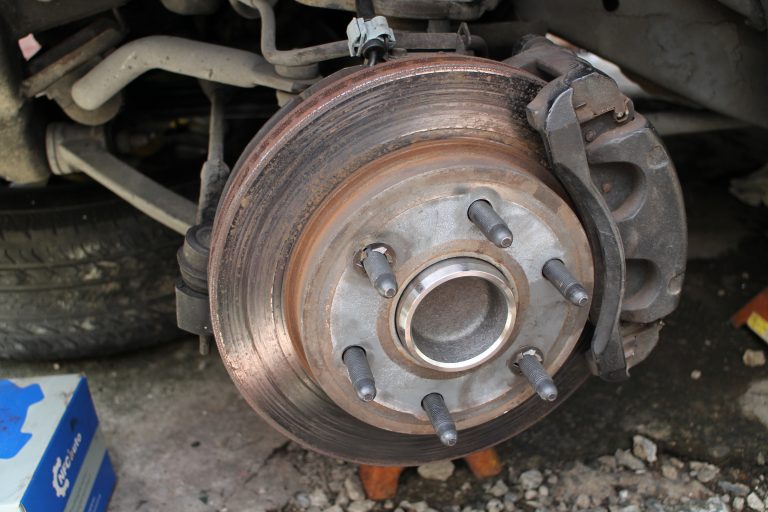
After ensuring that the hub assembly bolts are torqued tightly, reroute the ABS sensor wire of the new hub assembly, plug it into harness, and reattach all the plastic retainers.

Reinstall the disc rotor, locking washers, and brake caliper in that order and check everything before reattaching the wheel.
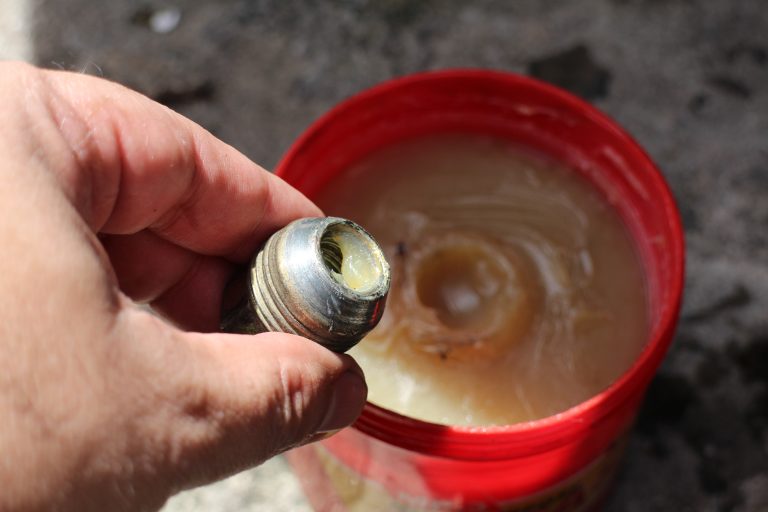
Reinstall the disc rotor, locking washers, and brake caliper in that order and check everything before reattaching the wheel.

Apply a dab of grease to the wheel nuts before reinstalling to prevent rust and seizing.
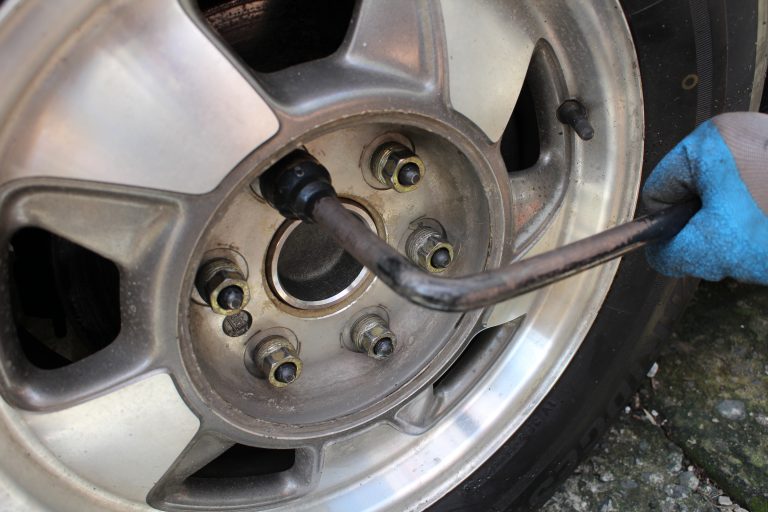
Apply a dab of grease to the wheel nuts before reinstalling to prevent rust and seizing.

Torque the wheel nuts in the correct sequence and reinstall the wheel cover.
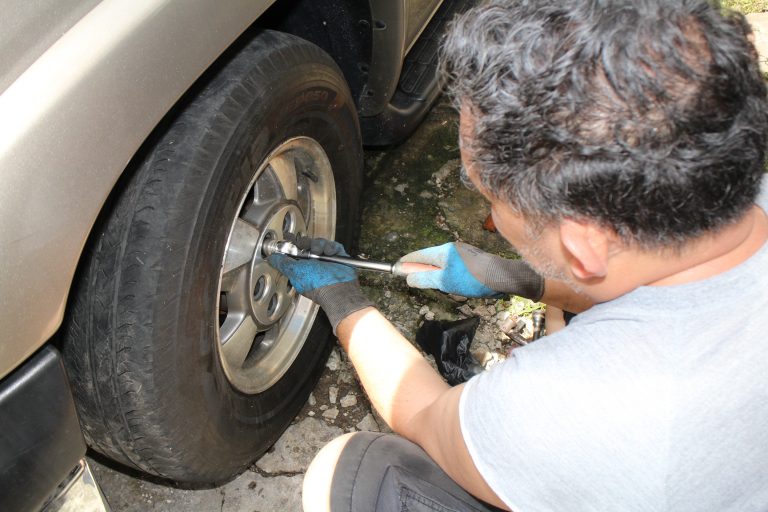
Torque the wheel nuts in the correct sequence and reinstall the wheel cover.

Next time, we will work on the front torsion bar suspension to correct the stance of our Chevy Tahoe. Stay tuned!
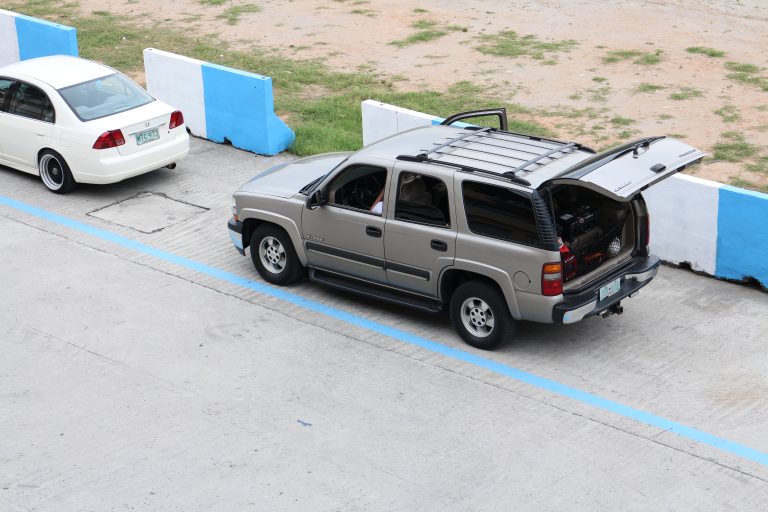
Next time, we will work on the front torsion bar suspension to correct the stance of our Chevy Tahoe. Stay tuned!


We decided to do it ourselves and replaced the front hubs by following these steps:

What We Spent So Far:

Two (2) front hub assemblies (New/P8,000 each) P16,000.00
Front hub removal/installation (labor) Free (My DIY) Free (My DIY)
TOTAL: P16,000.00


from powerwheels.com.ph